 With the original Jasper’s portrait as a guide, continue embroidering the other side of Jasper’s forehead with long and short stitch again taking care to follow the angle of the fur.
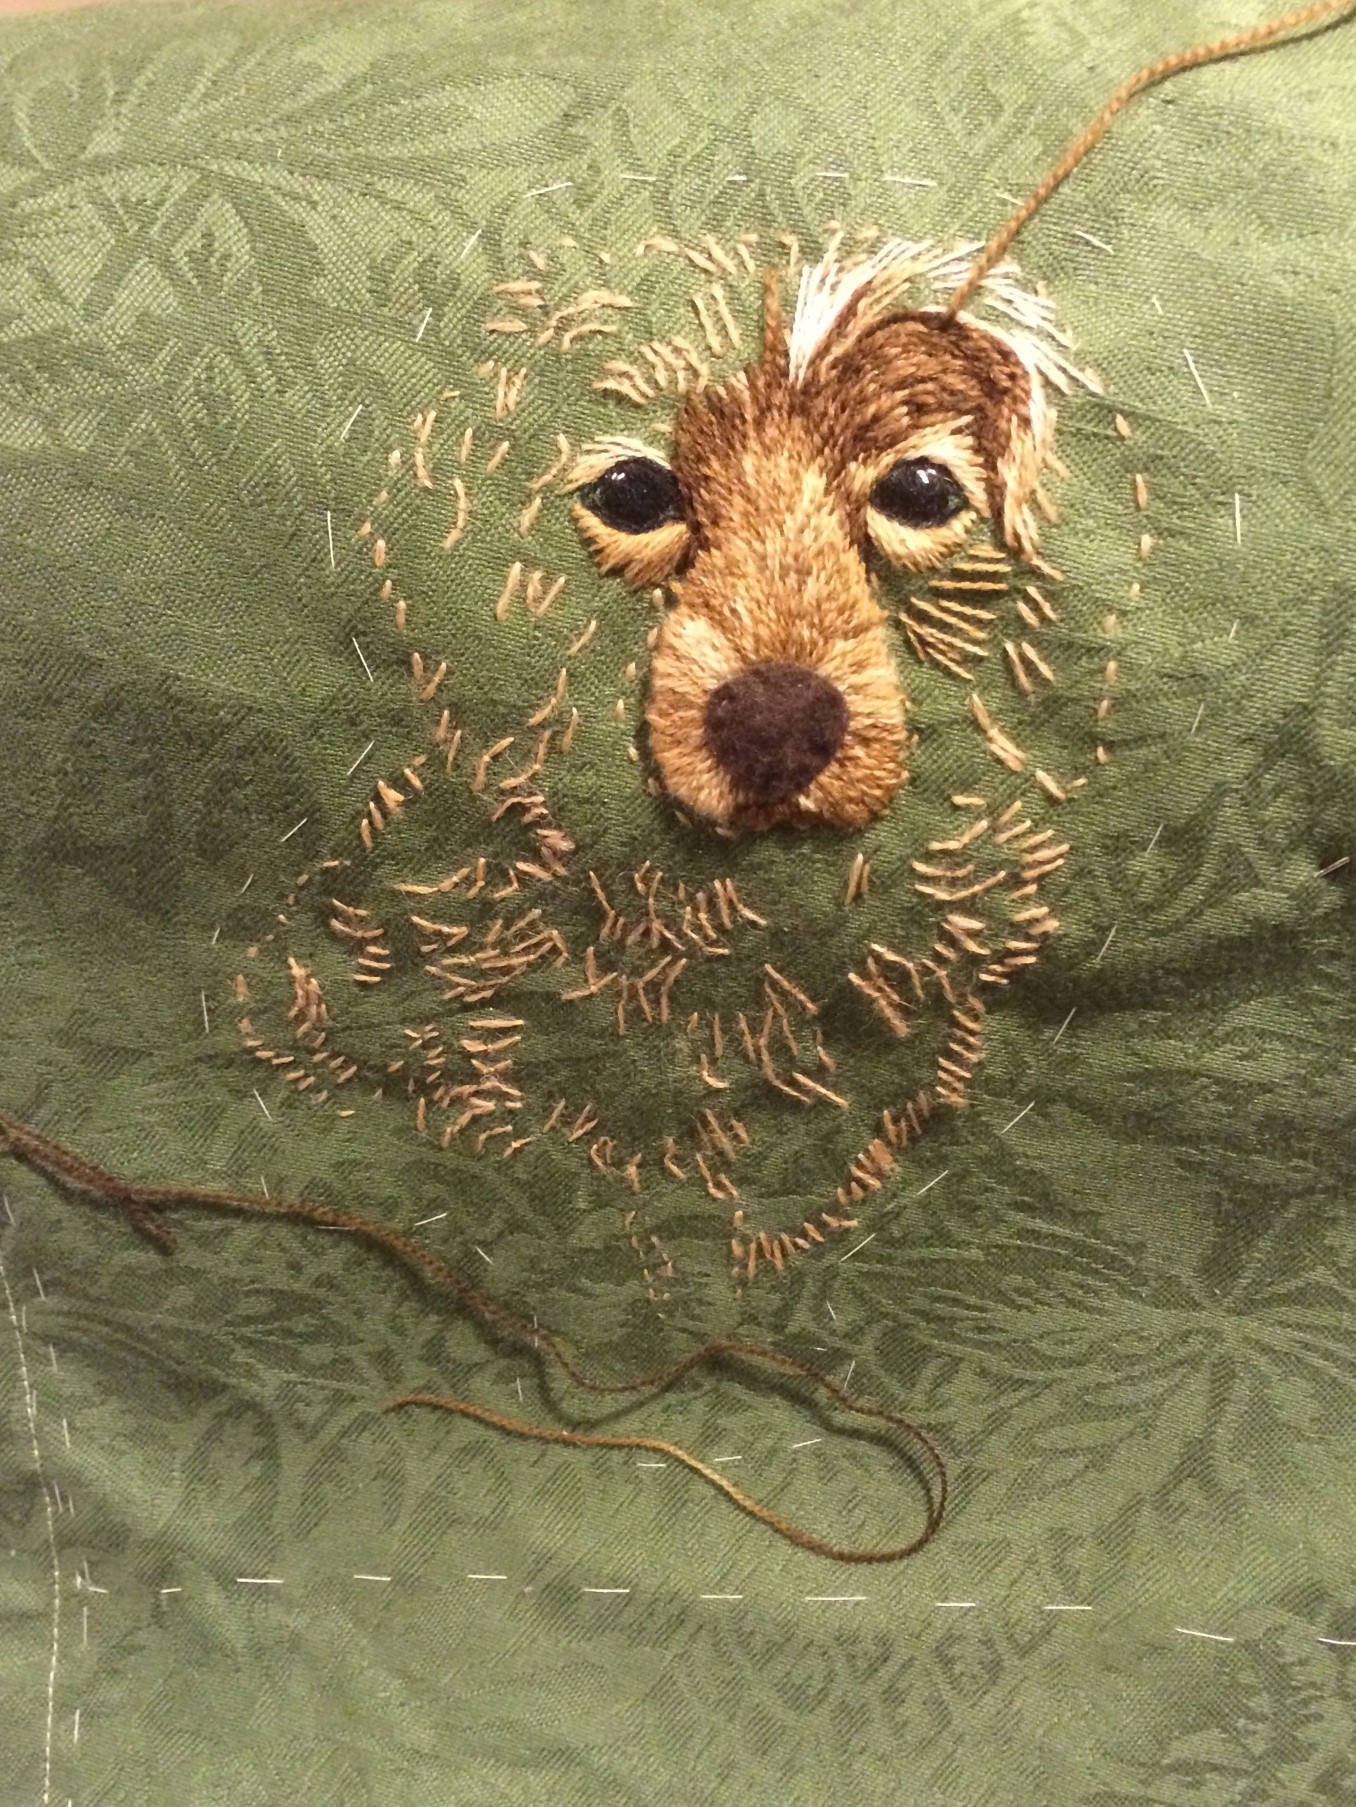
- Take careful notice of the shape of the light areas as opposed to the dark.

![]() The success of this picture depends on the values of tonal colors. i.e the depth of color in each strand of wool.
The success of this picture depends on the values of tonal colors. i.e the depth of color in each strand of wool.![]()

I stress to my students continually that you can’t see light without dark. Sometimes embroidery looks flat. Add a dark thread and as if by magic, the piece springs to life.
This principle works conversely. With light added to Jasper’s eyes around the bottom eyelids and highlights in the eyes, suddenly, Jasper is alive.
